
6 Day Shira Route – Kilimanjaro Climb Package
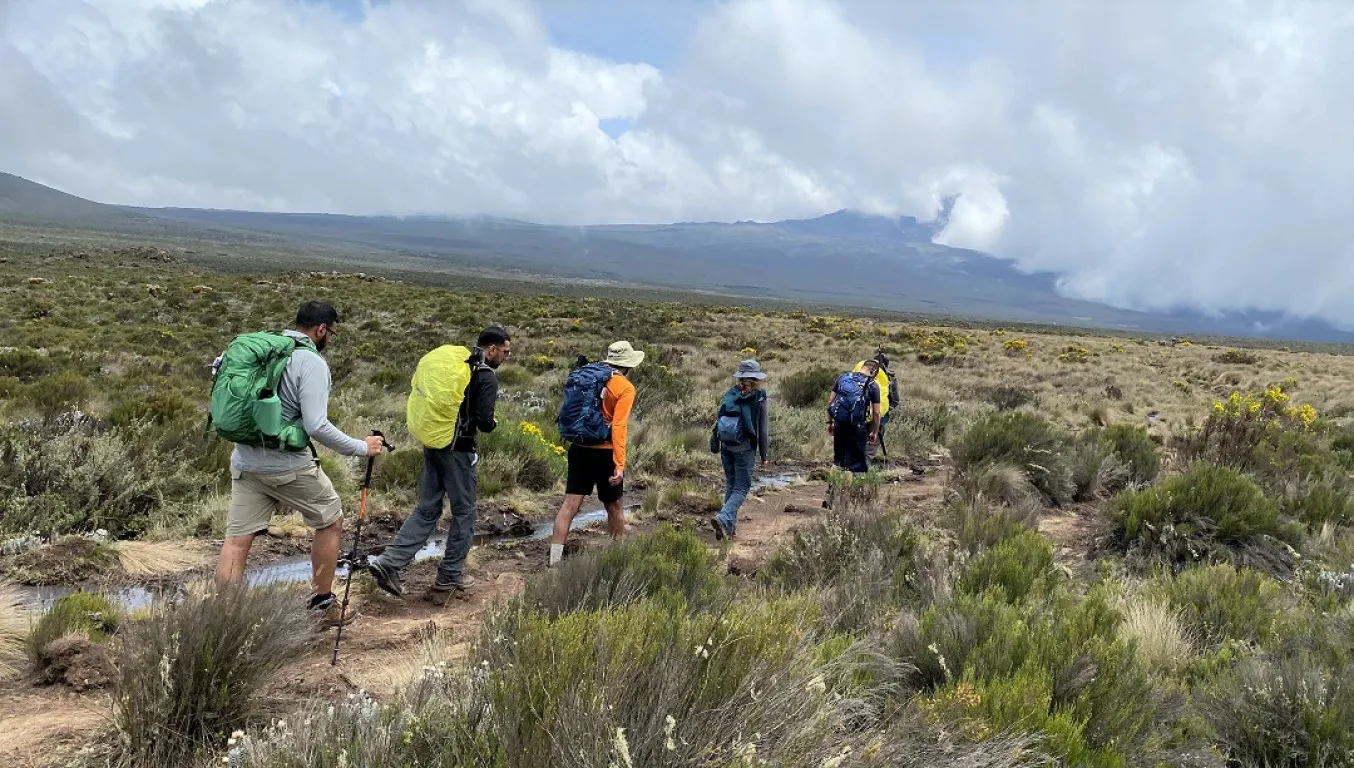
The 6-day Shira Route is a scenic and less-traveled approach to Mount Kilimanjaro, beginning on the western side of the mountain. Starting with a drive to the Shira Gate at 3,500 meters, it offers a unique opportunity to begin the trek at a higher altitude, making it ideal for experienced trekkers already acclimatized to high elevations. The route features diverse landscapes, from moorlands and alpine desert to glacier views, and offers excellent opportunities for photography and wildlife spotting.
While it shares much of its path with the Lemosho Route after day one, the Shira Route is shorter and steeper in the early stages, making it better suited for those confident in their fitness and acclimatization. It’s a great choice for climbers seeking a quieter trail with breathtaking scenery and a direct start high on the mountain.
At a Glance
-
Duration: 6 Days on the mountain
-
Route Type: Camping accommodation
-
Start Point: Shira Gate
-
End Point: Mweka Gate
-
Difficulty: Moderate to challenging
-
Scenery: Moorlands, alpine desert, glaciers, and panoramic views
-
Best For: Experienced trekkers, photographers, and those already acclimatized
Detailed Itinerary – 6 Day Shira Route
Day 1: Shira Gate to Shira 1 Camp
Your climb begins with a drive to Shira Gate at 3,500 meters, where you register before starting your trek. The trail crosses the Shira Plateau, offering expansive views of the surrounding wilderness. This is a relatively short day to help you adjust to the altitude.
Day 2: Shira 1 Camp to Shira 2 Camp
A gentle trek across the plateau with views of Kibo Peak ahead and Mount Meru behind. You’ll pass wildflowers and unique high-altitude plants before reaching Shira 2 Camp.
Day 3: Shira 2 Camp to Barranco Camp via Lava Tower
Ascend into the alpine desert to reach Lava Tower (4,630m) for an important acclimatization stop. After lunch, descend to Barranco Camp, situated in a sheltered valley below the Barranco Wall.
Day 4: Barranco Camp to Barafu Camp
Start by climbing the Barranco Wall, a steep but non-technical scramble with rewarding views. The trail then ascends gradually through alpine desert to reach Barafu Camp, the base for your summit attempt.
Day 5: Summit Day – Barafu Camp to Uhuru Peak, then descend to Mweka Camp
Set off just after midnight for your summit push. Ascend to Stella Point (5,756m) before making the final trek to Uhuru Peak (5,895m), the highest point in Africa. After celebrating and taking photos, descend to Barafu Camp for a short rest, then continue down to Mweka Camp.
Day 6: Mweka Camp to Mweka Gate
Descend through the lush rainforest to Mweka Gate. After signing out, you’ll receive your summit certificate and be transferred back to your hotel.
What's Included
-
All Kilimanjaro National Park entry fees
-
All camping accommodations during the climb
-
Professional mountain guides, porters, and cook
-
All meals on the mountain
-
Drinking water and hot drinks
-
Rescue fees
-
Oxygen cylinder and first-aid kit
-
Pre- and post-trek briefing
-
Transportation to and from Shira Gate
-
Summit certificate (gold for Uhuru, green for Stella Point)
What's Not Included
-
Flights and visas
-
Travel insurance
-
Tips for guides and porters
-
Personal trekking gear (sleeping bags, boots, etc.)
-
Accommodation before and after the trek (can be added on request)
-
Extra snacks and beverages
-
Portable toilets (available at extra cost)
FAQs – 6 Day Shira Route
Is the 6 day Shira Route good for acclimatization?
The Shira Route includes a “climb high, sleep low” profile on several days, which helps your body adapt to altitude. For example, on Day 3 you ascend to Lava Tower at 4,630 meters before descending to Barranco Camp at 3,960 meters. However, the route begins at Shira Gate (3,500m), which is already quite high. If you arrive in Tanzania without prior acclimatization—such as from another trek or time spent at altitude—you may experience symptoms sooner than on routes starting lower. Spending a night in Moshi or Arusha before the trek will not help with altitude; the best preparation is either previous acclimatization or adding extra days on the mountain.
How difficult is this climb?
This is considered a strenuous trek due to its high starting altitude and the physical demands of the summit day. Daily trekking times average 5–7 hours, except for the summit push, which can be 11–14 hours. The Barranco Wall on Day 4 requires some scrambling, though it’s not technical climbing. The biggest challenge is the thin air, especially above 4,500 meters. Proper physical preparation, steady pacing, and mental determination are essential for success.
Can beginners do this route?
While beginners have completed the Shira Route, it’s generally more suitable for trekkers with prior multi-day hiking experience, preferably at high altitude. The quick start at 3,500 meters gives your body little time to adjust before climbing higher, so first-time trekkers may find it more challenging than routes like Machame or Marangu. If you’re new to trekking but committed to Shira, consider adding an acclimatization day or training intensively before the trip.
What kind of accommodation is used?
Accommodation is in sturdy, weatherproof mountain tents set up each day by your crew. Sleeping mats are provided, but you’ll need to bring or rent a warm sleeping bag rated for sub-zero temperatures. Campsites are located at designated spots along the route, each with its own character—from the open Shira Plateau to the dramatic Barranco Valley. Dining tents and chairs are provided for mealtimes, ensuring a more comfortable camping experience.
Is altitude sickness common?
Yes, altitude sickness can affect anyone regardless of fitness level, especially since the route starts high. Common symptoms include headache, nausea, and loss of appetite. The key to minimizing risk is to walk slowly (“pole pole” in Swahili), stay well hydrated, and follow your guide’s instructions. Your guide will monitor you daily for symptoms and has the authority to decide whether it’s safe for you to continue. In severe cases, immediate descent is required.
What gear do I need to bring?
You’ll need layered clothing suitable for a wide range of temperatures, as conditions can vary from warm during the day to below freezing at night. Essentials include:
A four-season sleeping bag
Waterproof jacket and trousers
Insulated down or synthetic jacket
Thermal base layers
Sturdy, well-broken-in hiking boots
Gloves, hat, and gaiters
A comfortable daypack for personal items
A full and detailed packing list will be provided after booking, and many items can be rented locally if you prefer to travel light.
What’s the best time of year for this trek?
The Shira Route can be climbed year-round, but the best conditions are during the dry seasons: January–March and June–October. January–March tends to be colder with fewer climbers, offering clearer skies and more solitude. June–October is busier but generally warmer during the day and more predictable weather-wise. April–May and November are the rainy seasons, with wet, muddy trails and reduced visibility.
Are there toilet facilities along the route?
Yes, each campsite has basic long-drop toilets, which are functional but very basic. For greater comfort, you can hire a private portable toilet for the trek, which your crew will set up at each camp. This option is especially popular among groups who prefer privacy and cleaner facilities.
Can I rent trekking gear locally?
Yes, we offer rental gear such as sleeping bags, down jackets, trekking poles, and gaiters. This is a good option if you don’t own high-altitude gear or want to avoid excess baggage fees on flights. However, the quality of rental gear can vary, so it’s wise to check in advance and, if possible, try on or inspect items before departure.
How fit do I need to be?
You don’t need to be a professional athlete, but a good level of fitness is essential. Expect to hike 5–7 hours a day, often uphill, with a backpack weighing 6–8 kg (your porters will carry the rest). Endurance, leg strength, and cardiovascular fitness are key. Training should include long hikes on varied terrain, ideally with elevation gain, and regular cardio workouts such as cycling, running, or swimming. Mental resilience is equally important, especially on summit night when fatigue and altitude make progress challenging.
Explore More Kilimanjaro Routes
Join a Community of Adventurers
Climb with people who share your spirit for challenge and exploration. You'll find friendship, encouragement, and unforgettable stories on the mountain.
Seamless Travel Experience
We handle all the logistics — from airport transfers to park permits — so you can focus on enjoying the journey, not managing the details.
Stress-Free Climbing Support
Our experienced guides, reliable porters, and 24/7 support ensure a safe, comfortable, and well-organized Kilimanjaro experience — every step of the way.
Planning a Kilimanjaro Trek?
Let Our Local Experts Guide You
Whether you’re preparing for your first trek or returning for another summit, our team is here to help. Get personalized answers, route suggestions, and packing tips — from people who’ve actually climbed it.